SuiteCRM is a fully featured Open Source CRM, as powerful as Salesforce and Microsoft Dynamics. https://suitecrm.com/solutions/compare-with-salesforce/. To add an SSL certificate (LetsEncrypt), see here.
1. Create a new database
Create a new database in MySQL/MariaDB. The easiest way is to use phpMyAdmin. You can also use the command line.
2. Download and unzip SuiteCRM files to the web server
Change into the directory where you would like to install SuiteCRM. In this case it will be ‘/var/www/html'. Download, unzip & rename the directory to whatever you like. Update the download link below to the latest version of SuiteCRM.
$ cd /var/www/html
$ wget https://suitecrm.com/files/160/SuiteCRM-7.10.7/297/SuiteCRM-7.10.7.zip
$ unzip SuiteCRM-7.10.7.zip
$ mv SuiteCRM-7.10.7 suitecrm7107
Change into the directory (that you renamed above) and set the correct permissions on the SuiteCRM directory:
$ cd suitecrm7107
$ sudo chown -R www-data:www-data .
$ sudo chmod -R 755 .
$ sudo chmod -R 775 cache custom modules themes data upload
$ sudo chmod 775 config_override.php 2>/dev/null
Now navigate to the wizard by entering the following in your web browser:
http://<yourServer>/<yourSuiteCRMDirectory>/install.phpSince I am installing SuiteCRM on a development server the address would be:
127.0.0.1/suitecrm7107/install.phpAccept the license and click ‘Next'. On the following screen enter the database name and information along with site configuration informaton.
You can also choose to install Demo Data if want by select ‘Yes' in the section ‘Populate Database with Demo Data?'
Then click ‘Next'.
3. Setup Crontab (Optional)
In order to run SuiteCRM Schedulers, edit your web server user's crontab file with this command:
$ sudo crontab -e -u www-dataand add the following to the crontab file:
* * * * * cd /var/www/html/suitecrm7107; php -f cron.php > /dev/null 2>&1Ctrl+x, the ‘y' to save and exit.
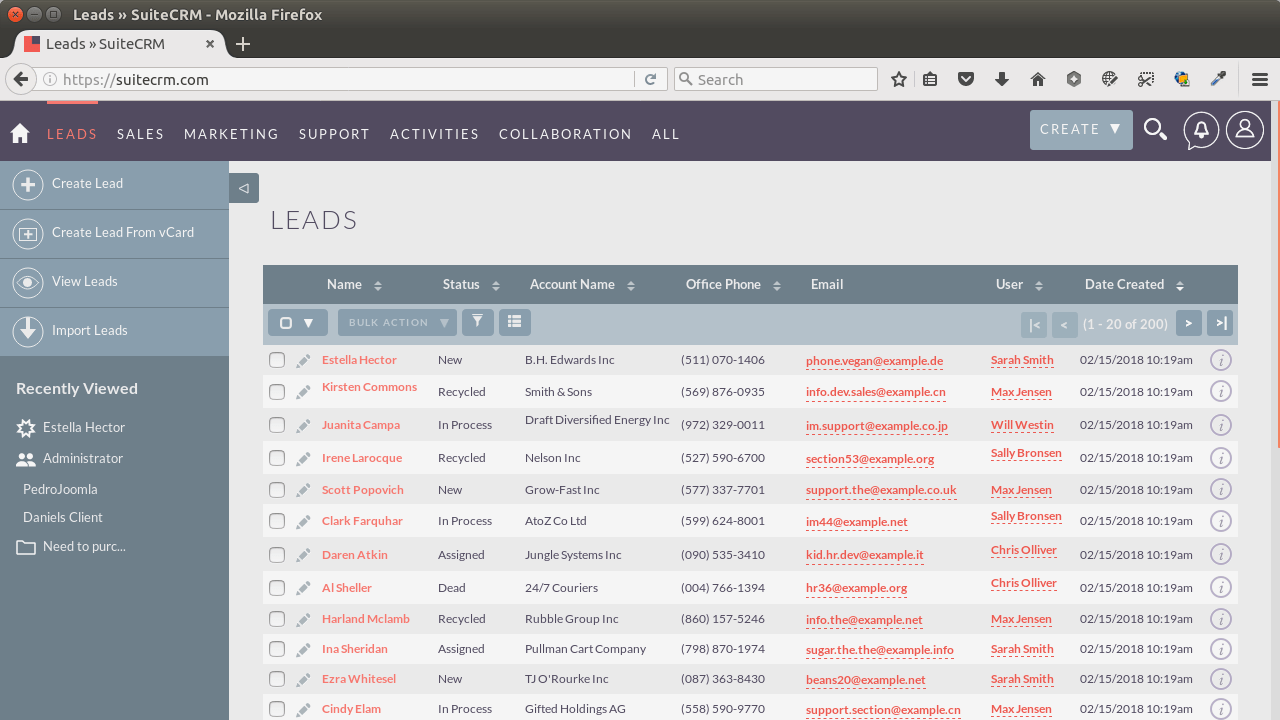
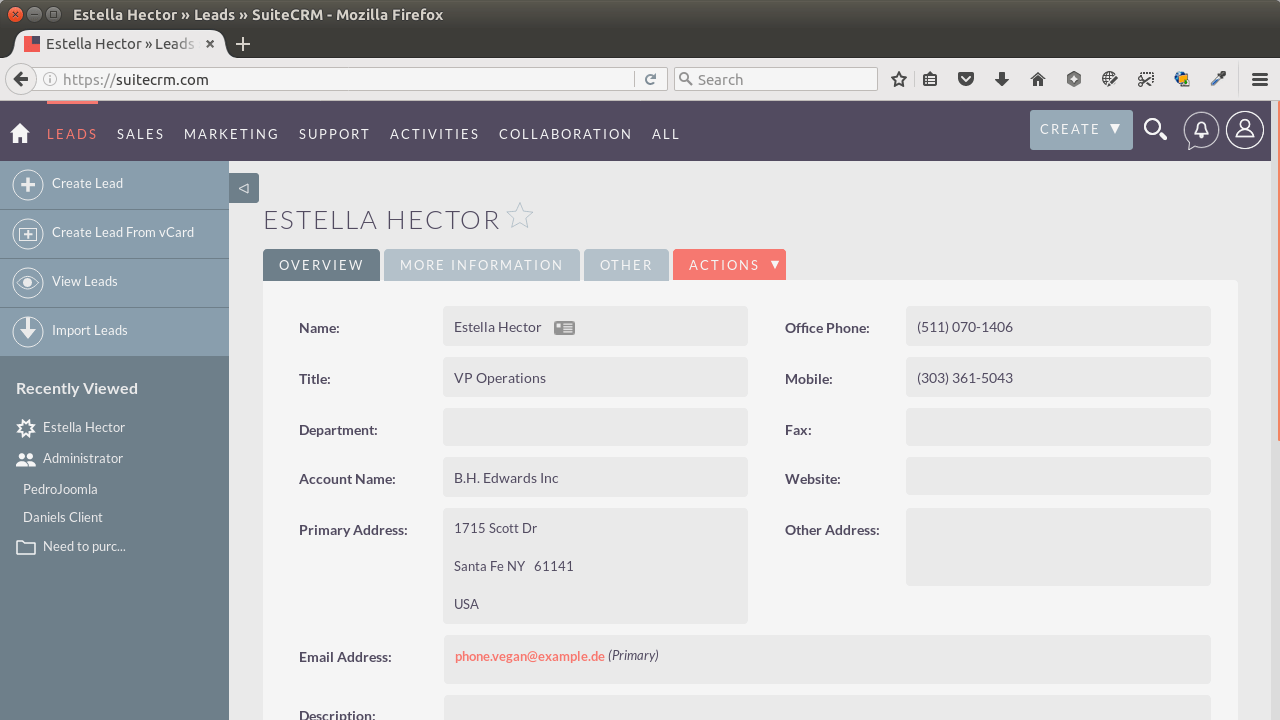
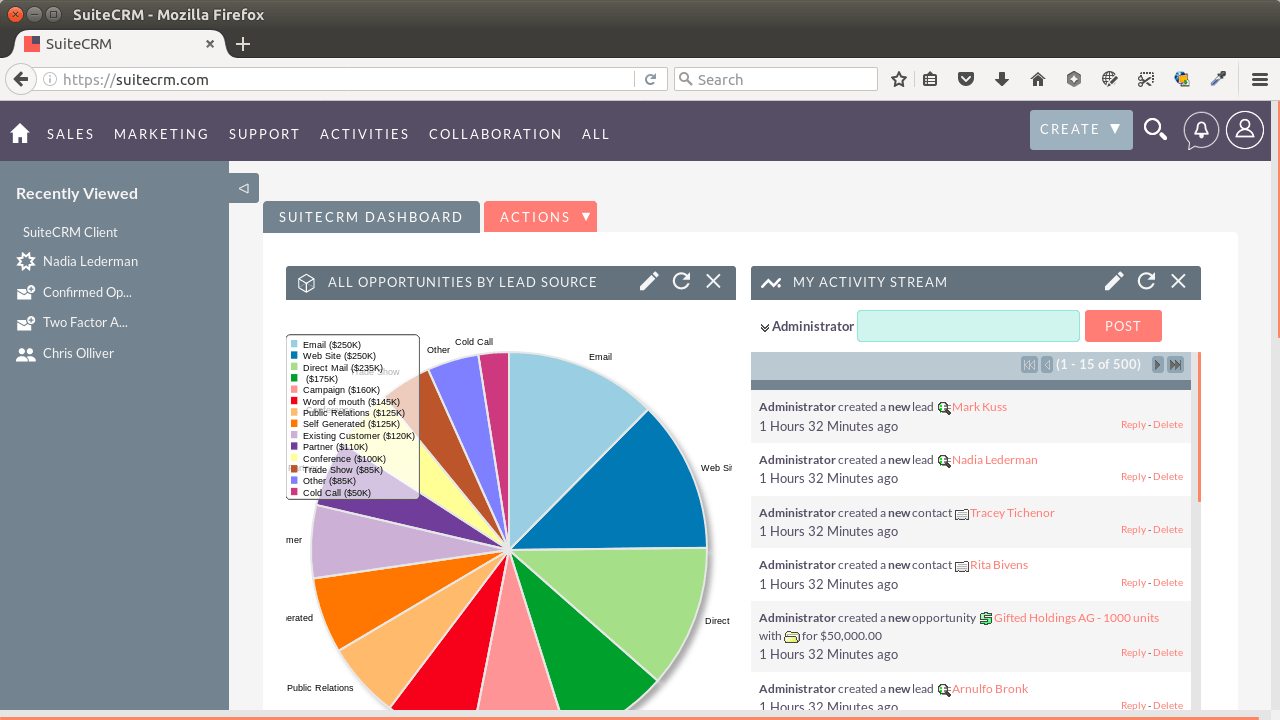
Now login to the site at http://yourServer/yourSuiteCRMDirectory/ or http://127.0.0.1/yourSuiteCRMDirectory
ERRORS & SOLUTIONS
1. Time-out error
If you get a time-out error during the installation, and need to re-run the installation do this:
go to your config.php file and locate (or add) a variable called ‘installer_locked' and set it to ‘false'. The line should look like this:
'installer_locked' => false,Then refresh the install.php page to re-run the installation BUT make sure you DO NOT install the demo data. Somehow, installing the demo data creates the time-out even when you change the max_execution_time variable in php.ini.
After the installation is complete the ‘installer_locked' value should revert back to ‘true', if not then you will want to change the value for ‘installer_locked' to ‘true'.
2. Installing dummy data
If you would like to completely re-install the application (for example, to attempt to install the dummy data), you can simply remove the config.php file and re-run the installer.
3. Optimize DB tables for best performance
If you find that SuiteCRM is too laggy and slow, one solution is to optimize the database tables – even on a new/fresh install. See How To Optimize A Table In MySQL or MariaDB
$ mysqlcheck -u root -p -o dbnameIn MariaDB you will see a list of:
note : Table does not support optimize, doing recreate + analyze instead
status : OK
Done
4. More SuiteCRM optimization tips
The settings below should already be set as default but doublecheck anyway:
- Do Not Set Listview and Subpanel Items Per Page to Excessive Settings. Under Admin > System Settings, there are two settings ‘Listview items per page' and ‘Subpanel items per page'. The defaults for these settings are 20 and 10 respectively. When increasing these values, it should be expected that general system wide performance will be impacted. We generally recommend to keep listview settings to 100 or less and subpanel settings to be set to 10 or less to keep system performance optimal.
- Make sure ‘Developer Mode' is disabled under Admin > System Settings. This setting should never be enabled in a production environment as it causes cached files to be rebuilt on every page load.
- Set the ‘Log Level' to ‘Fatal' and ‘Maximum log size' to '10M' under Admin > System Settings. The log level should only be set to more verbose levels when troubleshooting the application as it will cause a performance degradation as user activity increases.
Some additional settings to add/set inside the ‘config_override.php' file located inside of the root directory of SuiteCRM.
<?php
/***CONFIGURATOR***/
$sugar_config['disable_persistent_connections'] = false;
$sugar_config['calculate_response_time'] = false;
$sugar_config['default_module_favicon'] = false;
$sugar_config['dashlet_auto_refresh_min'] = '30';
$sugar_config['stack_trace_errors'] = false;
$sugar_config['developerMode'] = false;
$sugar_config['dump_slow_queries'] = false;
$sugar_config['log_memory_usage'] = false;
$sugar_config['verify_client_ip'] = false;
$sugar_config['save_query'] = 'populate_only';
$sugar_config['disable_count_query'] = true;
$sugar_config['disable_vcr'] = true;
$sugar_config['hide_subpanels'] = true;
$sugar_config['hide_subpanels_on_login'] = true;
/***CONFIGURATOR***/
http://support.sugarcrm.com/Documentation/Sugar_Developer/Sugar_Developer_Guide_7.9/Architecture/Performance_Tuning/Sugar_Performance/index.html
https://gist.github.com/maranemil/4ad5cb3b5b9d7a41bfd4
REFERENCES
https://docs.suitecrm.com/admin/installation-guide/downloading–installing/