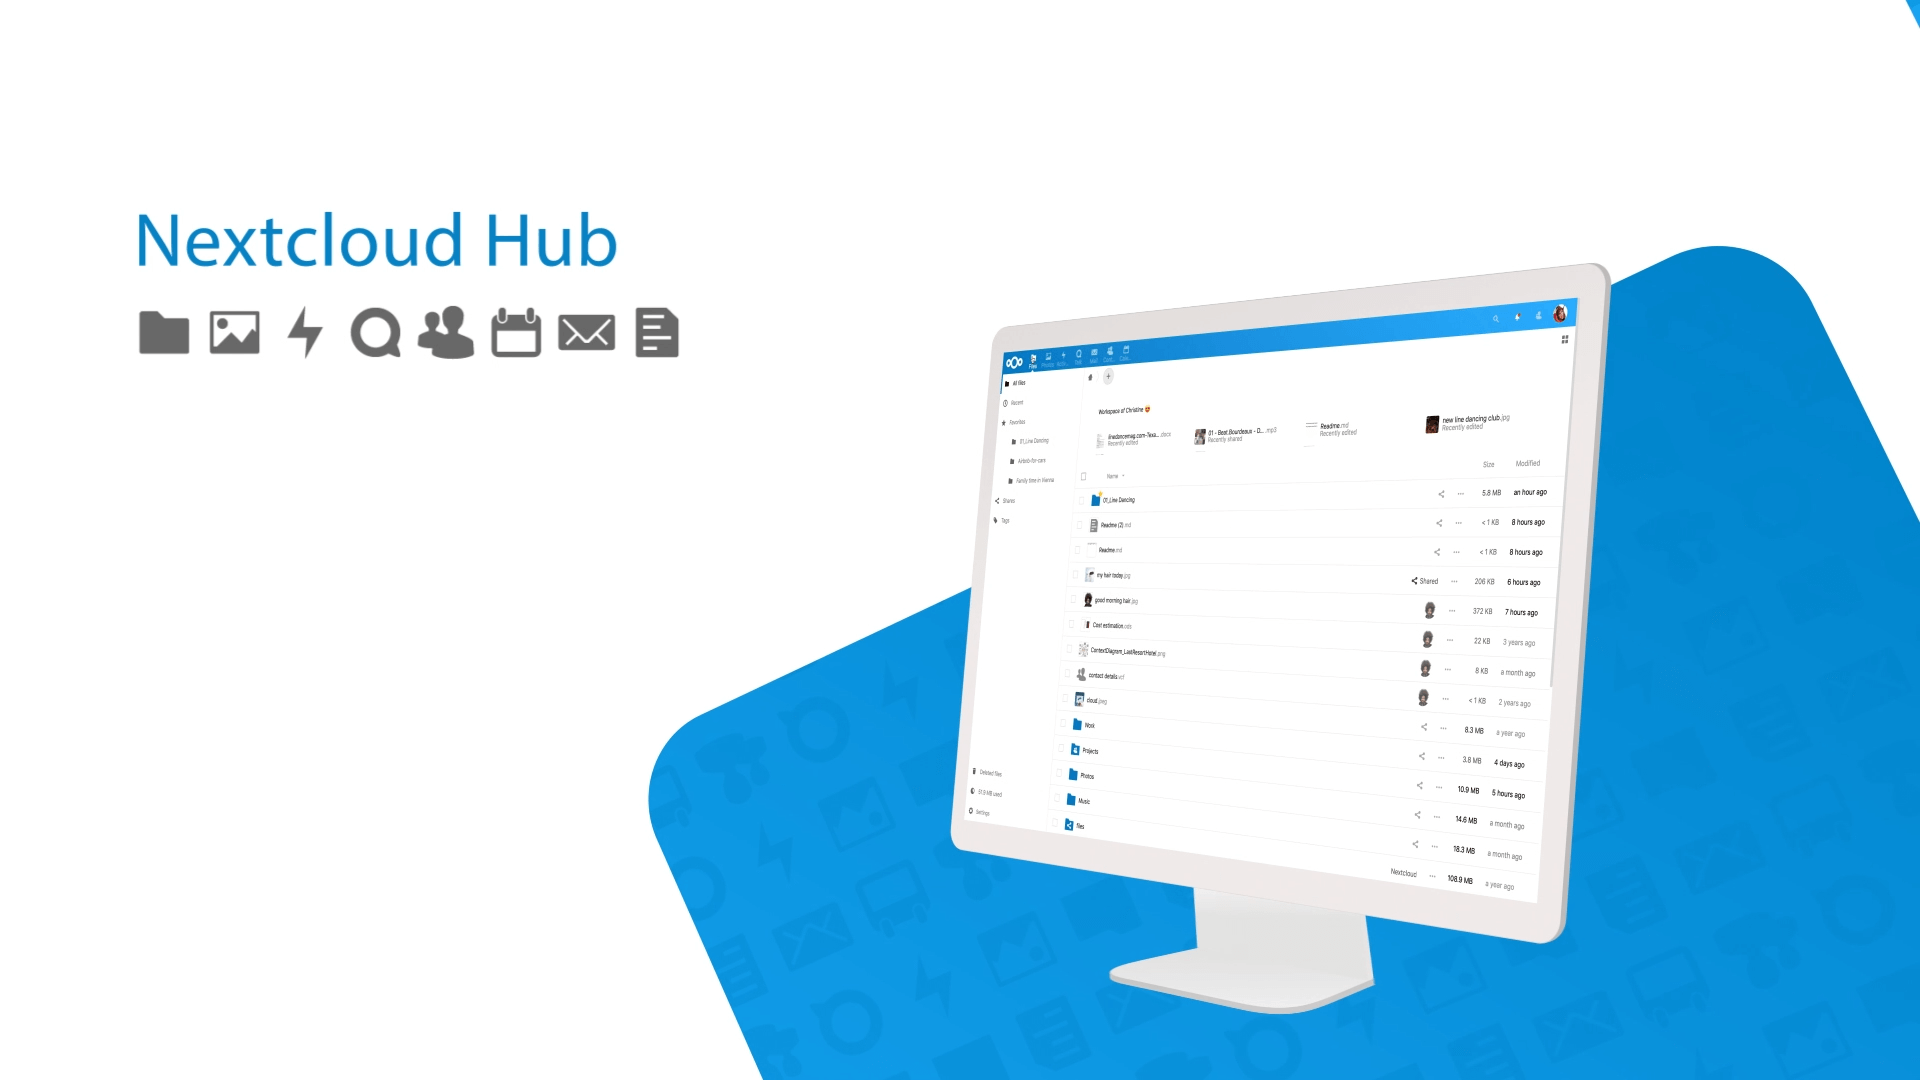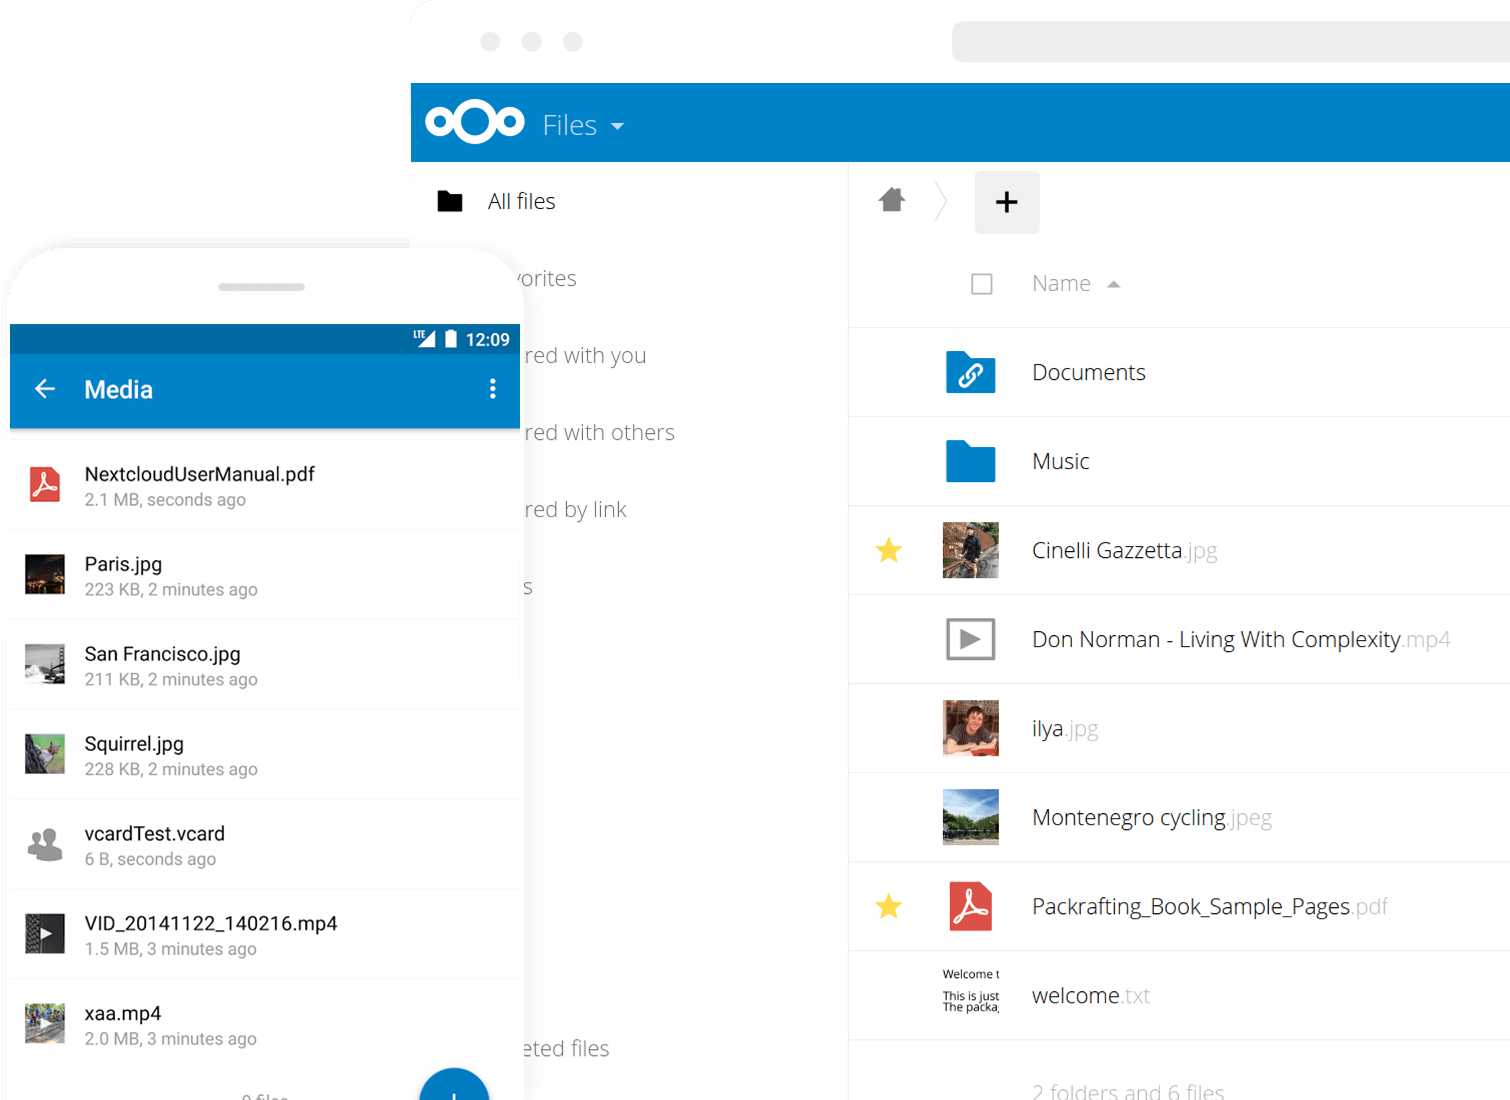
Nextcloud is a suite of client-server software for creating and using file hosting services. Nextcloud is free and open-source, which means that anyone is allowed to install and operate it on their own private server devices.
Nextcloud application functionally is similar to Dropbox, Office 365 or Google Drive, but can be used on home-local computers or for off-premises file storage hosting. Office functionality is limited to x86/x64 based servers as OnlyOffice does not support ARM processors. In contrast to proprietary services the open architecture enables users to have full control of their data.
1. Update the system and install necessary packages
$ sudo apt-get update && sudo apt-get -y upgrade
$ sudo apt-get install software-properties-common nano wget unzip
2. Install MariaDB
$ sudo apt-get update
$ sudo apt-get install software-properties-common
$ sudo apt-key adv --recv-keys --keyserver hkp://keyserver.ubuntu.com:80 0xF1656F24C74CD1D8
$ sudo add-apt-repository 'deb [arch=amd64,i386] http://sfo1.mirrors.digitalocean.com/mariadb/repo/10.1/ubuntu xenial main'
$ sudo apt-get update
$ sudo apt-get install mariadb-server
during installation, enter a password for the ‘root' user.
To secure mariadb,
$ sudo mysql_secure_installationenter the password you just set for the ‘root' user.
then ‘n' to not change the password.
remove anonymous users? enter ‘y'
disallow root login remotely? ‘y' or ‘n'
remove test database and access to it? ‘y'
reload privileges tables now? ‘y'
All done!  If you've completed all of the above steps, your MariaDB
installation should now be secure.

Thanks for using MariaDB!
3. Create database for Nextcloud
Log in to mysql prompt using command:
mysql -u root -pEnter the following commands one by one to create the database, database user:
mysql> CREATE DATABASE nextcloud;

mysql> GRANT ALL PRIVILEGES ON nextcloud.* TO 'vagrant'@'localhost' IDENTIFIED BY 'nextcloudpw';

mysql> FLUSH PRIVILEGES;

mysql> \q
4. Install PHP and required PHP modules
$ sudo apt-get -y install php-fpm php-cli php-json php-curl php-imap php-gd php-mysql php-xml php-zip php-intl php-mcrypt php-imagick php-mbstring unzipEDIT/UPDATE:
The code below to update the php variables did not seem to work. Instead:
$ sudo nano /etc/php/7.0/fpm/php.iniand edit each variable to the desired value. You can search for each variables by pressing Ctrl+w
The following commands will set the PHP memory limit to 512MB, change the values of upload_max_filesize and post_max_size to 500M.
$ sudo sed -i "s/memory_limit = .*/memory_limit = 512M/" /etc/php/7.0/fpm/php.ini
$ sudo sed -i "s/;cgi.fix_pathinfo=1/cgi.fix_pathinfo=1/" /etc/php/7.0/fpm/php.ini
$ sudo sed -i "s/upload_max_filesize = .*/upload_max_filesize = 500M/" /etc/php/7.0/fpm/php.ini
$ sudo sed -i "s/post_max_size = .*/post_max_size = 500M/" /etc/php/7.0/fpm/php.ini
ERROR:
The code above did not work for me. Just use Ctrl+W to search and find each variable to change. Also, uncomment the line ‘cgi.fix_pathinfo=1' and change to ‘cgi.fix_pathinfo=0'.
EDIT/UPDATE:
Verify the code below works!
Add the following environment variables at the end of the PHP-FPM pool file:
$ sudo nano /etc/php/7.0/fpm/pool.d/www.confenv[HOSTNAME] = $HOSTNAME
env[PATH] = /usr/local/sbin:/usr/local/bin:/usr/sbin:/usr/bin:/sbin:/bin
env[TMP] = /tmp
env[TMPDIR] = /tmp
env[TEMP] = /tmpCtrl+x, then ‘Y' to save and exit.
Restart PHP-FPM:
$ sudo service php7.0-fpm restart5. Download and extract Nextcloud
$ wget https://download.nextcloud.com/server/releases/nextcloud-12.0.0.zipExtract the downloaded zip with command:
$ sudo unzip nextcloud-12.0.0.zipMove the extracted folder to your web root directory i.e /var/www/html/ in our case.
$ sudo cp -r nextcloud/ /var/www/html/Set the proper ownership permission to the nextcloud directory:
$ sudo chown -R www-data:www-data /var/www/html/nextcloud/6. Install and configure Nginx
The package nginx-extras provides a version of nginx with the standard modules, plus extra features and modules such as nginx cache purge module:
$ sudo apt-get install nginx-extras nginx7. Generate a self signed ssl certificate:
$ sudo mkdir -p /etc/nginx/ssl
$ cd /etc/nginx/ssl
$ sudo openssl genrsa -des3 -passout pass:x -out nextcloud.pass.key 2048
$ sudo openssl rsa -passin pass:x -in nextcloud.pass.key -out nextcloud.key
$ sudo rm nextcloud.pass.key
$ sudo openssl req -new -key nextcloud.key -out nextcloud.csr
$ sudo openssl x509 -req -days 365 -in nextcloud.csr -signkey nextcloud.key -out nextcloud.crt
8. Create a new Nginx server block:
$ sudo nano /etc/nginx/sites-available/nextcloudCopy/paste the code below, replacing ‘my.nextcloud.com' with your server ip address (or localhost) and make sure the root directory is correct:
server {
    listen 80;
    server_name my.nextcloud.com;
    return 301 https://$server_name$request_uri;
}
server {
    listen 443 ssl http2;
    server_name my.nextcloud.com;
    root /var/www/html/nextcloud;

    ssl on;
    ssl_certificate     /etc/nginx/ssl/nextcloud.crt;
    ssl_certificate_key /etc/nginx/ssl/nextcloud.key;
    ssl_session_timeout 5m;
    ssl_ciphers               'AES128+EECDH:AES128+EDH:!aNULL';
    ssl_protocols              TLSv1 TLSv1.1 TLSv1.2;
    ssl_prefer_server_ciphers on;

    add_header Strict-Transport-Security "max-age=15768000; preload;";
    add_header X-Frame-Options "SAMEORIGIN";
    add_header X-XSS-Protection "1; mode=block";
    add_header X-Robots-Tag none;
    add_header X-Download-Options noopen;
    add_header X-Permitted-Cross-Domain-Policies none;

    access_log  /var/log/nginx/nextcloud.access.log;
    error_log   /var/log/nginx/nextcloud.error.log;

    location = /robots.txt {
        allow all;
        log_not_found off;
        access_log off;
    }

    location = /.well-known/carddav {
        return 301 $scheme://$host/remote.php/dav;
    }
    location = /.well-known/caldav {
        return 301 $scheme://$host/remote.php/dav;
    }

    client_max_body_size 512M;
    fastcgi_buffers 64 4K;
    gzip off;

    error_page 403 /core/templates/403.php;
    error_page 404 /core/templates/404.php;

    location / {
        rewrite ^ /index.php$uri;
    }

    location ~ ^/(?:build|tests|config|lib|3rdparty|templates|data)/ {
        deny all;
    }

    location ~ ^/(?:\.|autotest|occ|issue|indie|db_|console) {
        deny all;
    }

    location ~^/(?:index|remote|public|cron|core/ajax/update|status|ocs/v[12]|updater/.+|ocs-provider/.+|core/templates/40[34])\.php(?:$|/) {
        include fastcgi_params;
        fastcgi_split_path_info ^(.+\.php)(/.+)$;
        fastcgi_param SCRIPT_FILENAME $document_root$fastcgi_script_name;
        fastcgi_param PATH_INFO $fastcgi_path_info;
        fastcgi_param HTTPS on;
        #Avoid sending the security headers twice
        fastcgi_param modHeadersAvailable true;
        fastcgi_param front_controller_active true;
        fastcgi_pass unix:/var/run/php/php7.0-fpm.sock;
        fastcgi_intercept_errors on;
        fastcgi_request_buffering off;
    }

    location ~ ^/(?:updater|ocs-provider)(?:$|/) {
        try_files $uri/ =404;
        index index.php;
    }

    location ~* \.(?:css|js)$ {
        try_files $uri /index.php$uri$is_args$args;
        add_header Cache-Control "public, max-age=7200";
        add_header X-Content-Type-Options nosniff;
        add_header X-Frame-Options "SAMEORIGIN";
        add_header X-XSS-Protection "1; mode=block";
        add_header X-Robots-Tag none;
        add_header X-Download-Options noopen;
        add_header X-Permitted-Cross-Domain-Policies none;
        # Optional: Don't log access to assets
        access_log off;
    }

    location ~* \.(?:svg|gif|png|html|ttf|woff|ico|jpg|jpeg)$ {
        try_files $uri /index.php$uri$is_args$args;
        access_log off;
    }

    location ~ /\.ht {
        deny all;
    }

}
Activate the server block by creating a symbolic link :
$ sudo ln -s /etc/nginx/sites-available/nextcloud /etc/nginx/sites-enabled/nextcloudTest the Nginx configuration and restart nginx:
$ sudo nginx -t
$ sudo service nginx restart
If using Vagrant/ Virtualbox for local development:
Open Virtualbox, right-click on the running virtual machine, click ‘Settings', select ‘Network', click ‘Advanced', click ‘Port Forwarding', add new port forwarding rule by clicking the ‘+' icon in top right of menu, the enter:
‘Name': ssl ‘Host Port': 443 ‘Guest Port': 443
Click ‘OK' save and exit.
9. Start Nextcloud web installer
Open up your web browser and navigate to URL: https://IP_Address/nextcloud or https://domain_name/nextcloud.
Create a new admin account and enter database user name, password, and database name that you chose when you created the database above. Done.
Note: It is best to place the ‘data' directory OUTSIDE of the web root. Example: inside ‘/var/www' – you can also change the directory later if you choose.
ERRORS & SOLUTIONS
ERROR 1:
If you see this message after entering details into the web installer:
Data directory (/var/www/html/nextcloud/data) is readable by other users

Please change the permissions to 0770 so that the directory cannot be listed by other users.
Do this:
$ sudo chmod -R 0770 /var/www/html/nextcloud/dataor you can 1) move the data folder outside of the web root, 2) update the nextcloud config.php file to reflect new data location, 3) chmod the data directory, 4) chown the data directory:
1) move the data folder:
$ sudo mv /var/www/html/nextcloud/data /var/www/2) update the nextcloud data location:
$ sudo nano /var/www/html/nextcloud/config/config.phpfind the line:
'datadirectory' => '/var/www/html/nextcloud/data',and change to:
'datadirectory' => '/var/www/data',3) chmod the directory:
$ sudo chmod -R 0770 /var/www/data4) chown the directory:
$ sudo chown -R www-data:www-data /var/www/dataDONE
ERROR 2:
if you are getting an error during installation when you go to https://127.0.0.1/nextcloud and try to enter database details, like this:
An exception occurred while executing 'INSERT INTO 'oc_users' ...do this:
http://thr3a.hatenablog.com/entry/20160602/1464817095
and more info on the binary log is here: https://dev.mysql.com/doc/refman/8.0/en/binary-log.html
$ sudo nano /etc/mysql/my.cnfCTRL+W to find ‘binlog_format'
uncomment and change
binlog_format=rowto
binlog_format=mixedCtrl+X, then ‘Y' to save and exit
$ sudo service mariadb restart10. Adding a crontab for the SSL certificate
As the certificate currently expires after 90 days by default, to automatically renew the certificate let’s create a cronjob:
sudo crontab -eThis will open the crontab file for the root user. Add the following line to the crontab file (substitute ‘username' with your username:
0 0 * * 0 /home/username/certbot-auto renewCtrl+X, then ‘Y' to save and exit.
an NGINX block used for a production server with a wildcard lets encrypt ssl (mydomain.com). Since this is a subdomain, you can also add this to the bottom of an enabled server block. Note that since this is using a wildcard lets encrypt ssl, the line of code ‘include snippets/ssl-mydomain.com.conf;' is referencing the original domain and NOT the subdomain.
server {
        listen 80;
        listen [::]:80;

        root /var/www/cloud.mydomain.com/html;
        index index.php index.html;
        server_name cloud.mydomain.com;

        if ($scheme != "https") {
        	rewrite ^ https://$host$uri permanent;
        }

        listen 443 ssl http2;
        listen [::]:443 ssl http2;
        include snippets/ssl-mydomain.com.conf;
        include snippets/ssl-params.conf;

        add_header Strict-Transport-Security "max-age=15768000; preload;";
        add_header X-XSS-Protection "1; mode=block";
        add_header X-Robots-Tag none;
        add_header X-Download-Options noopen;
        add_header X-Permitted-Cross-Domain-Policies none;

        access_log  /var/log/nginx/nextcloud.access.log;
        error_log   /var/log/nginx/nextcloud.error.log;

        location = /robots.txt {
            allow all;
            log_not_found off;
            access_log off;
        }

        location = /.well-known/carddav {
        	return 301 $scheme://$host/remote.php/dav;
        }
        location = /.well-known/caldav {
        	return 301 $scheme://$host/remote.php/dav;
        }

        client_max_body_size 512M;
        fastcgi_buffers 64 4K;
        gzip off;

        error_page 403 /core/templates/403.php;
        error_page 404 /core/templates/404.php;

        location / {
        	rewrite ^ /index.php$uri;
        }

        location ~ ^/(?:build|tests|config|lib|3rdparty|templates|data)/ {
        	deny all;
        }

        location ~ ^/(?:\.|autotest|occ|issue|indie|db_|console) {
        	deny all;
        }

        location ~^/(?:index|remote|public|cron|core/ajax/update|status|ocs/v[12]|updater/.+|ocs-provider/.+|core/templates/40[34])\.php(?:$|/) {
            include fastcgi_params;
            fastcgi_split_path_info ^(.+\.php)(/.*)$;
            fastcgi_param SCRIPT_FILENAME $document_root$fastcgi_script_name;
            fastcgi_param PATH_INFO $fastcgi_path_info;
            fastcgi_param HTTPS on;
            #Avoid sending the security headers twice
            fastcgi_param modHeadersAvailable true;
            fastcgi_param front_controller_active true;
            fastcgi_pass unix:/var/run/php/php7.0-fpm.sock;
            fastcgi_intercept_errors on;
            fastcgi_request_buffering off;
        }

        location ~ ^/(?:updater|ocs-provider)(?:$|/) {
            try_files $uri/ =404;
            index index.php;
        }

        location ~* \.(?:css|js)$ {
            try_files $uri /index.php$uri$is_args$args;
            add_header Cache-Control "public, max-age=7200";
            add_header X-Content-Type-Options nosniff;
            add_header X-Frame-Options "SAMEORIGIN";
            add_header X-XSS-Protection "1; mode=block";
            add_header X-Robots-Tag none;
            add_header X-Download-Options noopen;
            add_header X-Permitted-Cross-Domain-Policies none;
            # Optional: Don't log access to assets
            access_log off;
        }

        location ~* \.(?:svg|gif|png|html|ttf|woff|ico|jpg|jpeg)$ {
            try_files $uri /index.php$uri$is_args$args;
            access_log off;
        }

        location ~ /.well-known {
        	allow all;
        }

        location ~ /\.ht {
        	deny all;
        }

}
Related
Configuring Memory Caching In Nextcloud
Enabling Pretty links In Nextcloud
