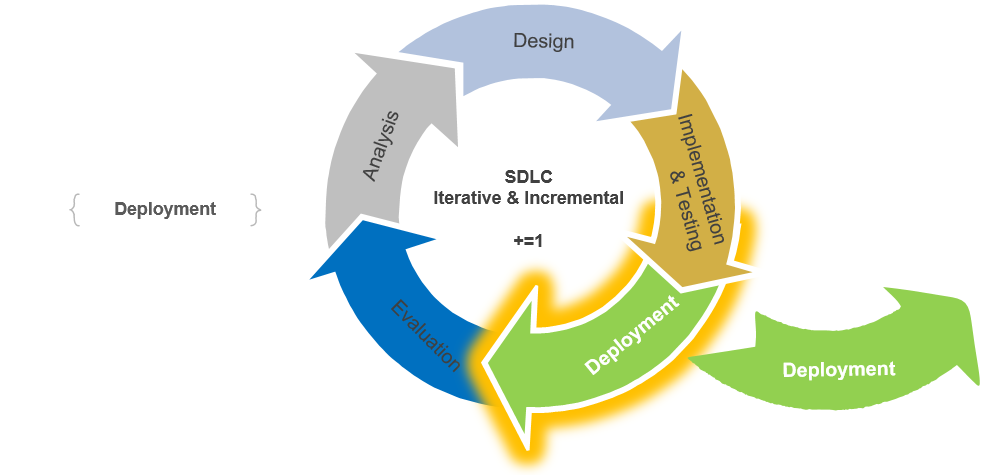
Deployment
In this tutorial, I will guide you through the process of using the WordPress plugin Duplicator to migrate/move a development site to a live production server. There are many ways that this can be done with WordPress.
1. One way would be to upload all of our local files to the production server and then simply change a couple of things in our database to reflect the new location. You can find a guide on the process here and more info on this method can be found at the WordPress.org site here.
2. We could also use Git (a Version Control System or VCS) to push our local development code to a code hosting service like GitHub and then pull the code to our live production server. We will cover that in other application development tutorials but those steps are really not necessary for a WordPress site.
The easiest way I have found is to use the free WordPress Duplicator plugin. Below I will walk through the steps:
1. Build the package
1.1 Login to your local development WordPress site, then go to Plugins > Add New > and search for “duplicator” (By Snap Creek). Install and activate the plugin.
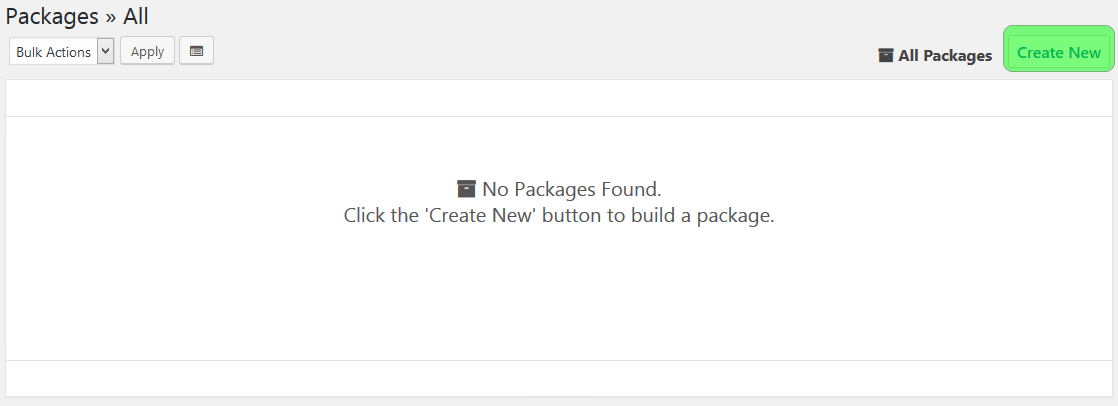
1.2 You will now see ‘Duplicator” in the WordPress sidebar. Click ‘Packages' and you will see the screen below. Click the ‘Create New' tab:
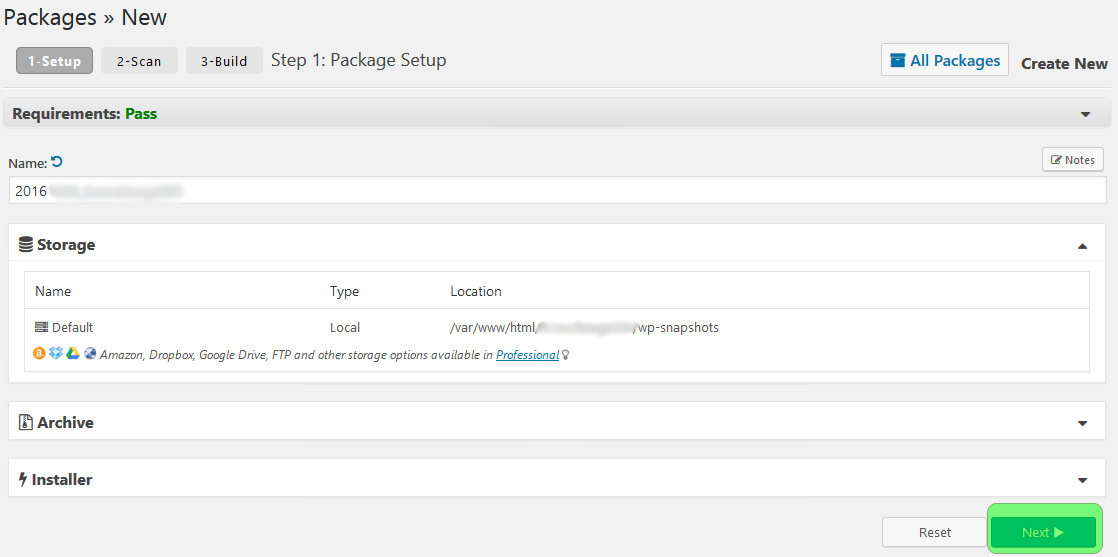
1.3 When you click ‘Create New' to create a new package, you will see the screen below. You can click the drop down arrows to view all of the options but they are completely optional. You can just click the ‘Next' button to proceed:
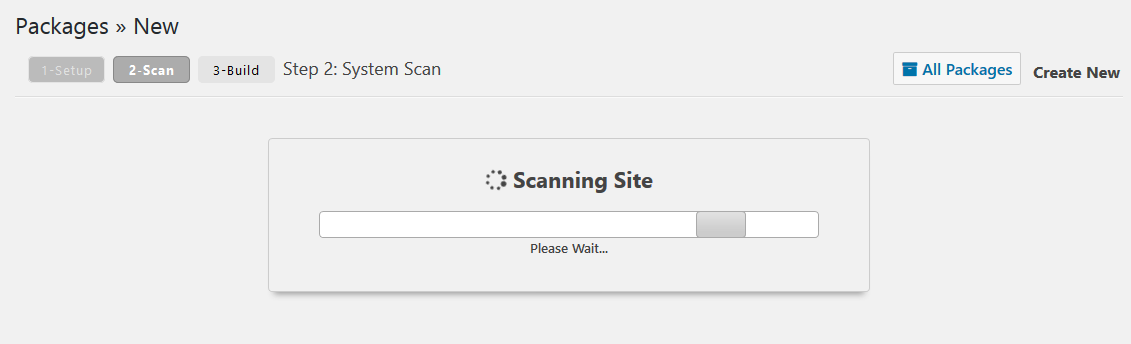
1.4 The plugin will now scan your website. You will see the screen below:
1.5 If everything is good, you will see the screenshot below. Now just click ‘Build' at the bottom of the screen.
If everything isn't good, you may see some warnings that may be best to correct before you proceed. A common error is that the website is too big (probably due to the number of images you have, etc). If this is the case, you should go back to the previous screen and in the ‘Archive' tab you can exclude the ‘uploads' folder (or any other folder or file extension) from the package. This will reduce the package size and you can just upload the folder (and/or files) to your development site after the package has been installed to the development website. See below in the ERRORS & SOLUTIONS section at the bottom of this guide for a screenshot.

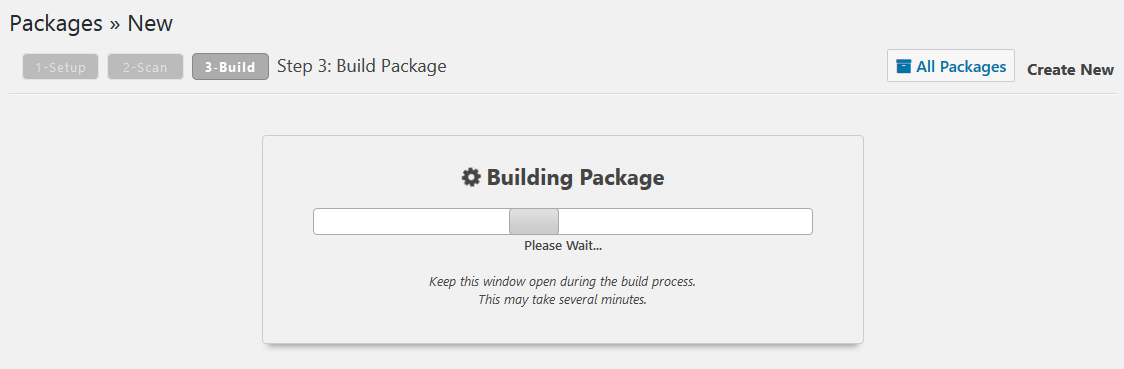
1.6 So after the scan shows that you are all Good, You will then see the screen below as the plugin builds the package:
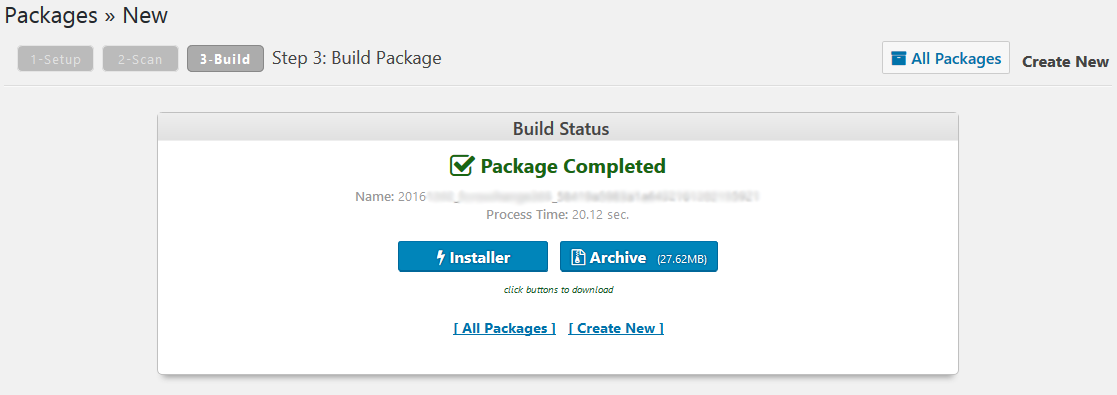
1.7 You will now see that the package has been built and the process is complete. You will now want to download both the ‘Installer' and the ‘Archive' to a location on your pc. These files will then be uploaded to the root directory of your website:
2. Install the package on your development website
2.1 Upload the ‘installer.php' and archive zip file (20xxxxxx_xxx_…zip) to the root of your website. If you followed the earlier guides in this series, this will be ‘/var/www/yoursite.com/html/'.
2.2 Once uploaded, go to the URL of the installer.php file at ‘https://yoursite.com/installer.php'. You will then see the screenshot below:
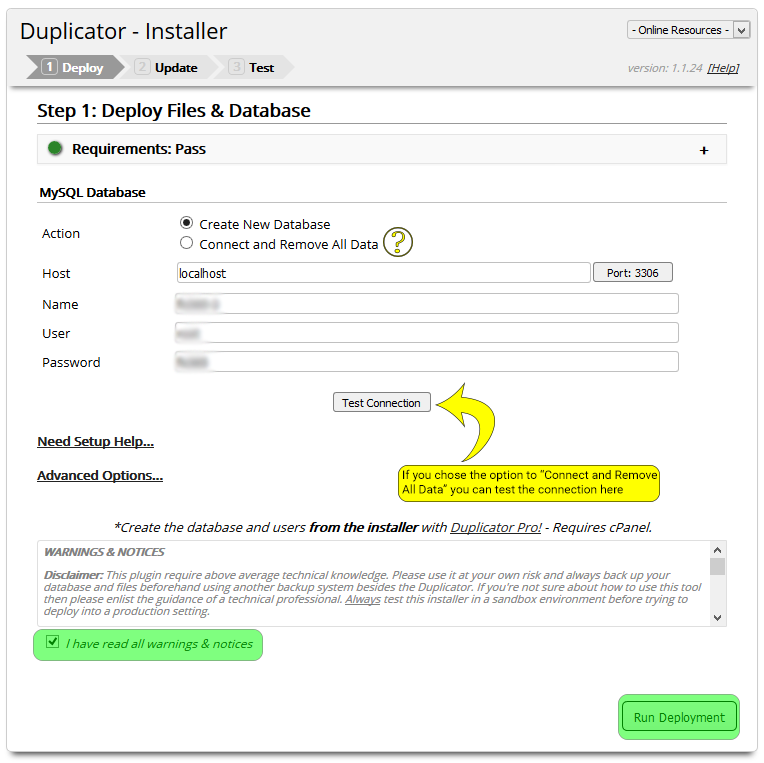
From this point, you can just let the installer create a new database by entering a new database name, your db username and password (keep localhost for the ‘Host' field). Then check the checkbox in green above and click ‘Run Deployment'. If you have already created a new database, you can select ‘Connect and Remove All Data' > enter the db info and click ‘Test Connection'. If there is a successful connection, you can proceed. Also, it is normally not necessary to adjust any of the Advanced Options UNLESS you see deploy errors which will be addressed below.
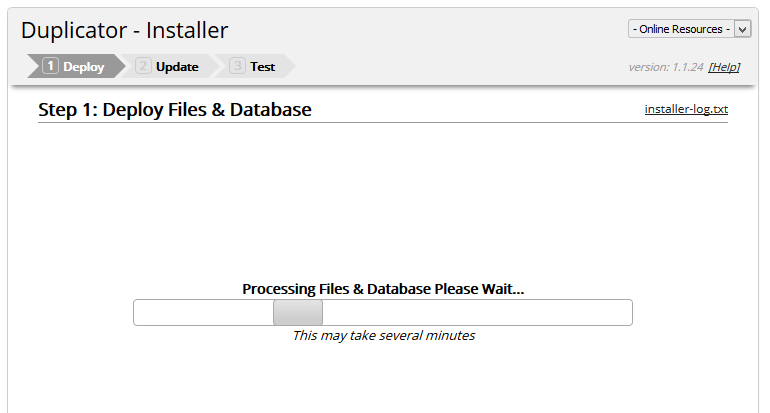
When you click ‘Run Deployment' you will see the screen below (if you choose to ‘Connect and Remove All Data' you will also see a warning popup that notifies you that database you selected will be overwritten):
2.3 If everything goes OK, you will see the screen shot below. If you see a screen showing deploy errors, see below in the ERRORS & SOLUTIONS section for an easy fix:
2.4 Next, click ‘Save Permalinks' and login to your website. Once inside, just verify your permalink settings are correct and click ‘Save changes' at the bottom of the screen.
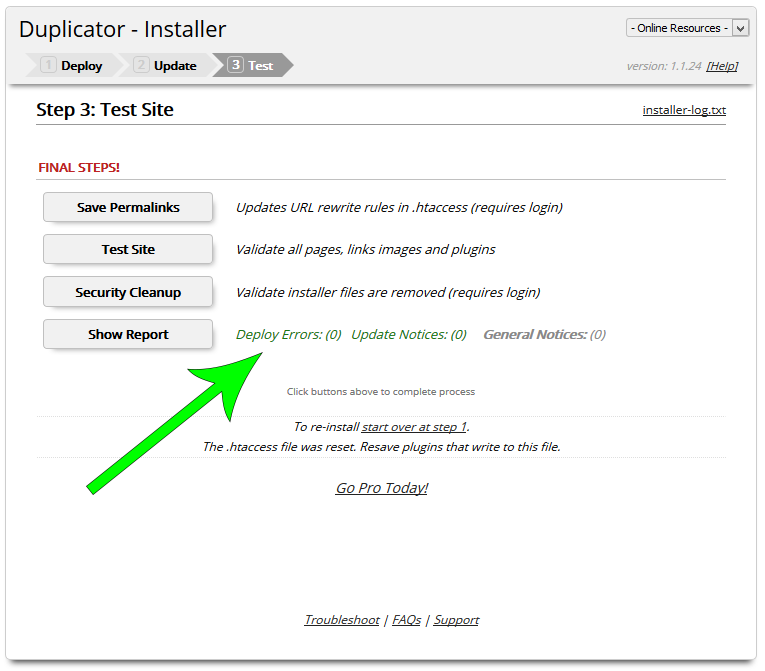
2.5 Next, click ‘Test Site' which will take you to your site. Browse your site to verify that all of the links work correctly.
2.6 Then click ‘Security Cleanup' where you will see the screenshot below:
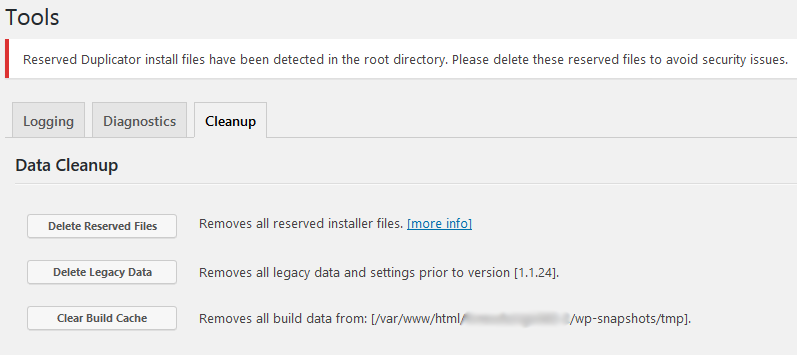
Click each of the buttons to clean up and delete Duplicator's install files.
DONE
In the last part of this series, we evaluate our project in terms of terms of costs, schedule (time) and functionality (quality) versus our initial estimates. We then focus on the editorial calendar and our backlog of features (and/or bug fixes) that will be addressed in future iterations.
ERRORS & SOLUTIONS
1.5 If you see warning from the plugin when it scans your site, one of the most common problems is that the package size is too big. We will need to exclude folders from the package which can then later be uploaded to the site after migration is complete. Click the ‘Back' button on the bottom of the screen to get back to the ‘Package Setup' page. On this page, click the drop down arrow for the ‘Archive' section, check the option ‘Enable File Filters' and add the directory(s) and/or file extension(s) that you want to exclude. Once done, complete the rest of the steps in this guide and then upload those directories and/or files that were excluded from the package to you website. See the screenshot below:

2.3 If there are deploy errors, you will see something similar to this:
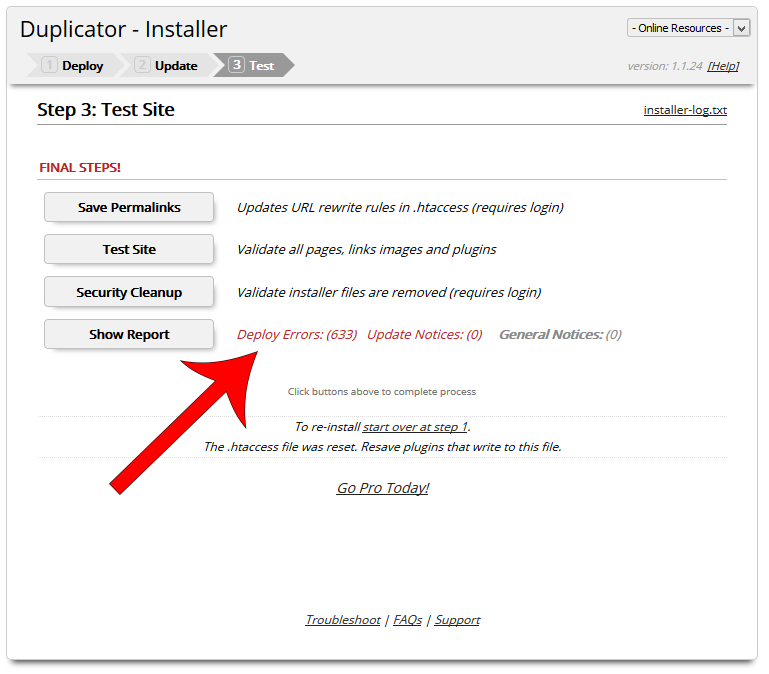
When you see this, you will have to re-install the package. First click the link to ‘start over at step 1':
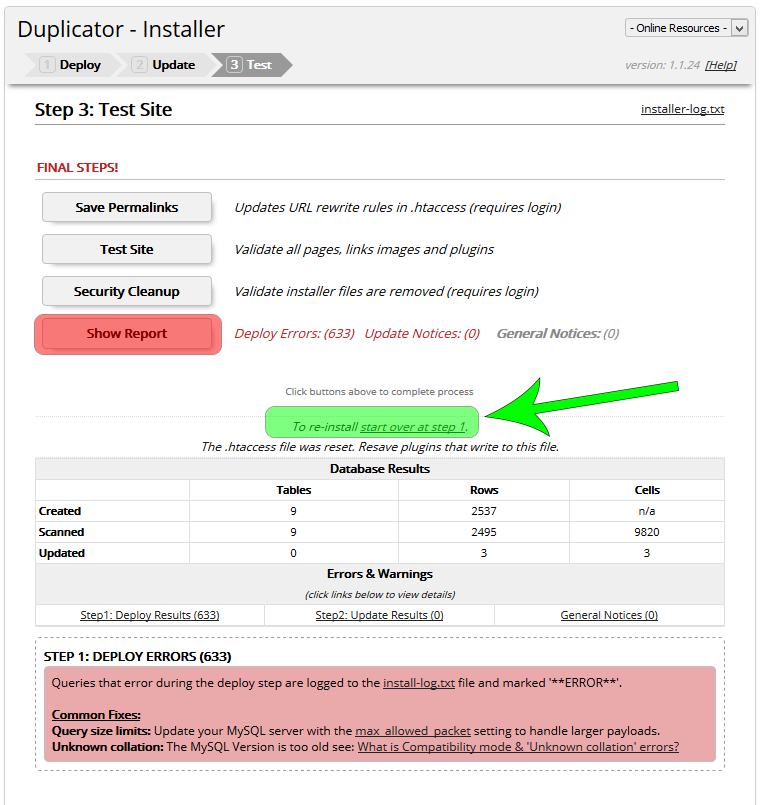
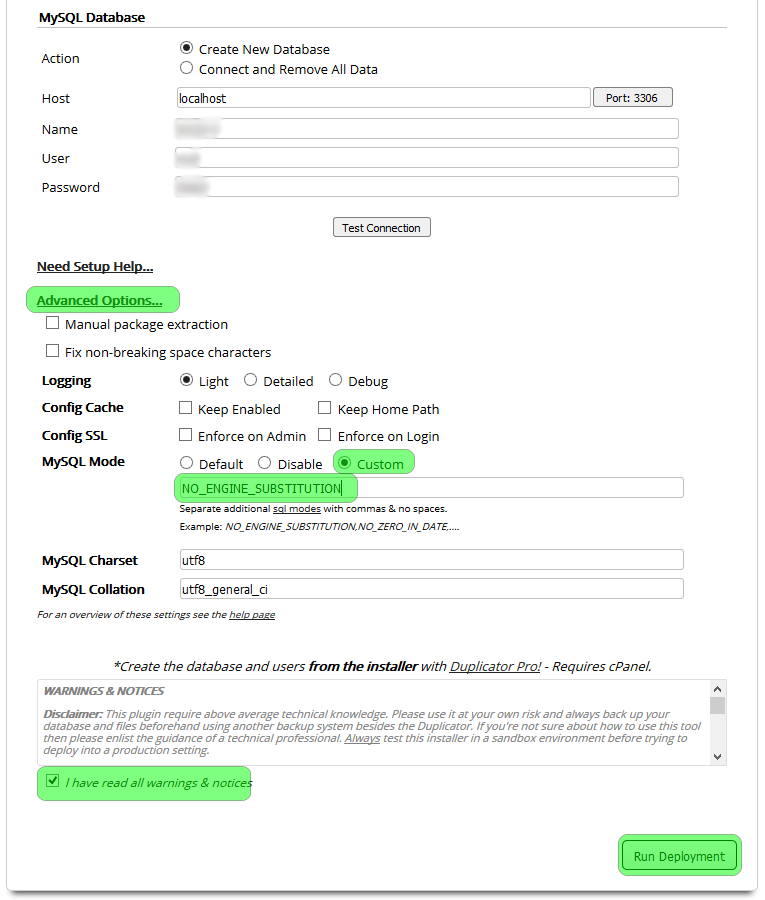
On Step 1 of the Duplicator installer, click the ‘Advanced Options' link. In MySQL Mode select ‘custom' and type in “NO_ENGINE_SUBSTITUTION”. Check the “I have read all warnings & notices” checkbox and ‘Run Deployment' again. This time, there should be no errors and you can continue with the rest of the installer steps. This solution was addressed here: https://wordpress.org/support/topic/invalid-default-value-database-install-fail/
REFERENCES
https://codex.wordpress.org/Moving_WordPress
https://en-gb.wordpress.org/plugins/duplicator/
http://imarkethost.com/how-to-copy-wordpress-site-to-local-test-server/
https://wordpress.org/support/topic/invalid-default-value-database-install-fail/