Production server environment setup, part 1.
This tutorial will install Ubuntu 16.04 on a DigitalOcean droplet.
If you don’t have an account already, sign up to DigitalOcean using this link which will give you a $10 credit (2 months FREE using a $5/mo droplet!) which also helps support this site.
1. Once logged in to your account, click the ‘Create Droplet’ link in the top right corner:

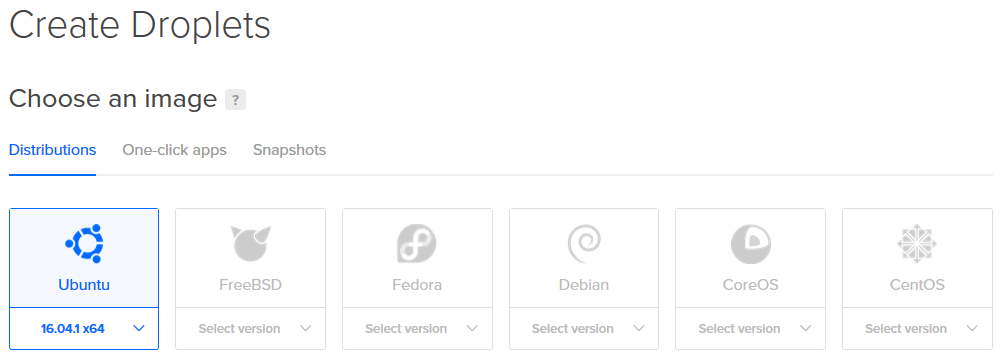
2. Choose an image. In our case, we will choose Ubuntu 16.04.1 x64. You can click the arrow key ‘v’ for more choices:
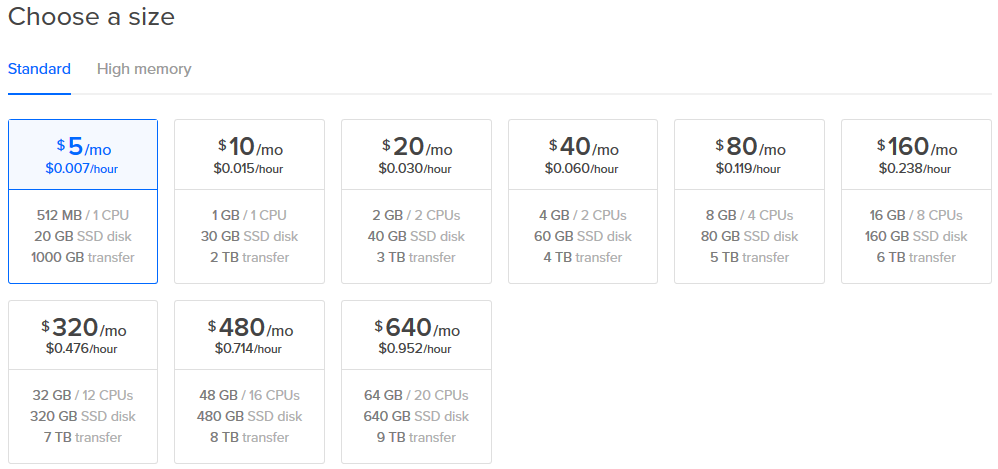
3. Choose a server size. In our case we will choose $5/mo (or $0.007/hour), 512 MB – 20 GB – 1000 GB transfer:
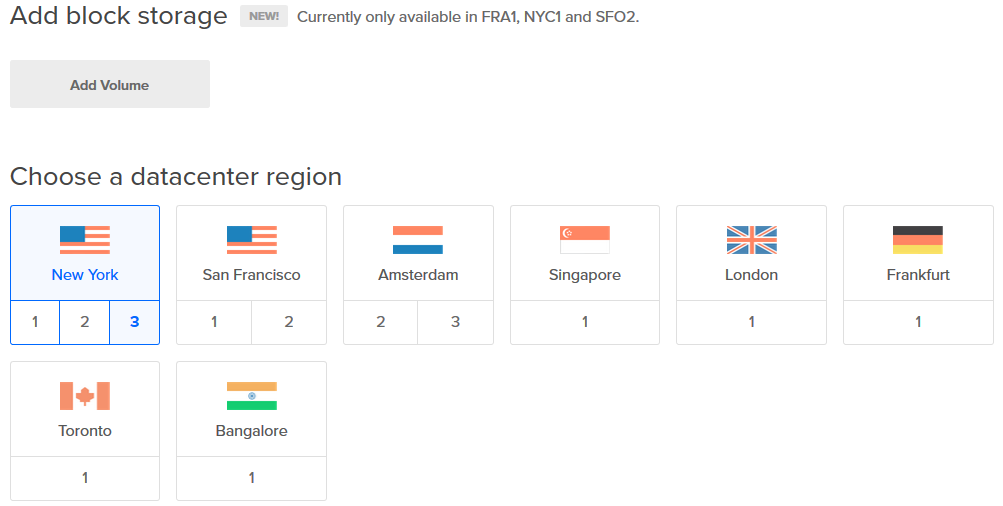
4. Choose a datacenter region (Choose a region where you expect most of your users will come from). For now, we will not be adding block storage so we can skip it:
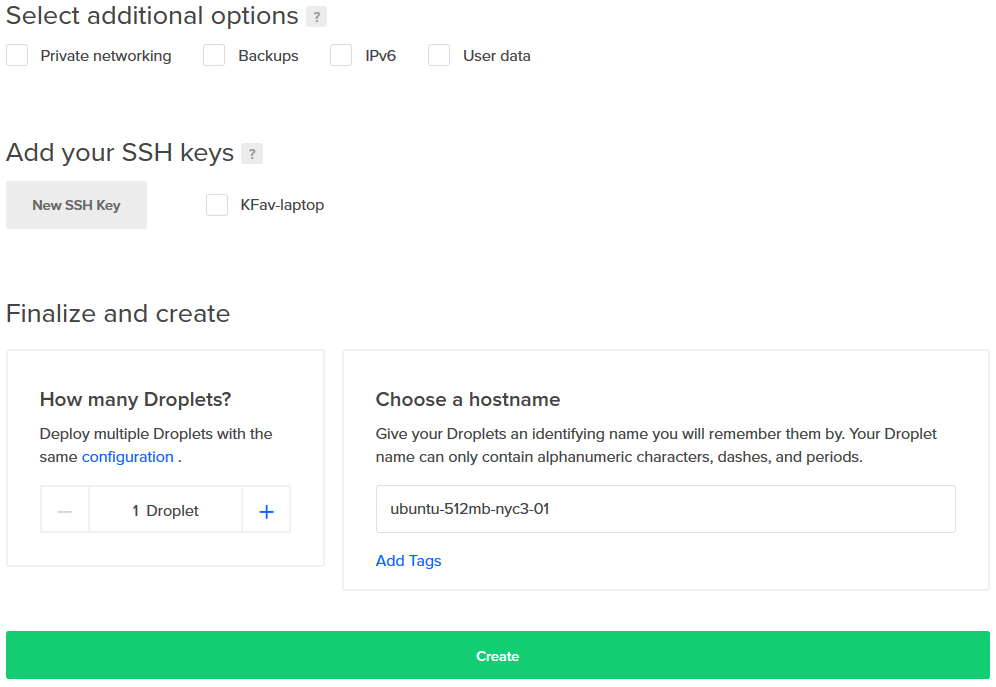
5. Finalize and create. Give your new droplet a name that is easily identifiable to you (or your client). Selecting ‘Backups’ in ‘Select additional options’ enables weekly backups and only adds 20% to the monthly droplet cost (in our case, $5 * 0.20 = $1) but I will be using the WordPress plugin UpdraftPlus to create backups on a daily basis. Reference to this tool can be found in the Solution Tools Table we completed in our Analysis stage of this project. We will also be using Snapshots as a backup which will be explained later. For now, we will also skip the other options although later we can add an SSH key which is a recommended security feature (Amazon Web Services automatically sets you up with one but we will walk through AWS in later tutorials):
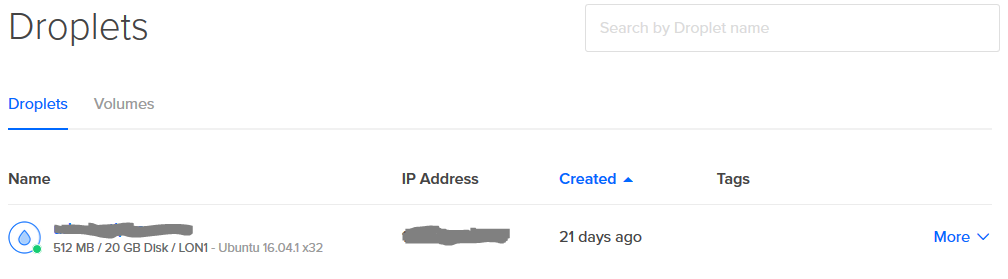
That’s it. You will now see on your ‘Droplets’ page your new server and IP Address. Note your IP Address, this will be used to log in and configure to your server via SSH.
Also, once we have completed our application setup later, we can take a Snapshot of the server which is just a manually generated backup and only cost $0.05 per gigabyte (GB). More info can be found here.
DONE
In the next part of this series, we will continue to Part 2 of the Ubuntu 16.04 production server setup.
REFERENCES
https://www.digitalocean.com/community/tutorials/digitalocean-backups-and-snapshots-explained
https://www.digitalocean.com/community/tutorials/how-to-connect-to-your-droplet-with-ssh
https://www.digitalocean.com/community/tutorials/how-to-create-your-first-digitalocean-droplet-virtual-server
https://www.digitalocean.com/community/tutorial_series/new-ubuntu-14-04-server-checklist
If you don’t have an account already, sign up to DigitalOcean using this link which will give you a $10 credit (2 months FREE using a $5/mo droplet!) which also helps support this site.